


JimVonBaden
Street Tracker
Being me, I can't leave anything alone, so I undertook one of many mods to come, as much as possible I want to keep them functional and minimal.
One of the first was to swap the exhaust, see that thread link, and to add a set of case guards. I got lucky and got these new off E-bay for $70. Not bad for Triumph accessories.
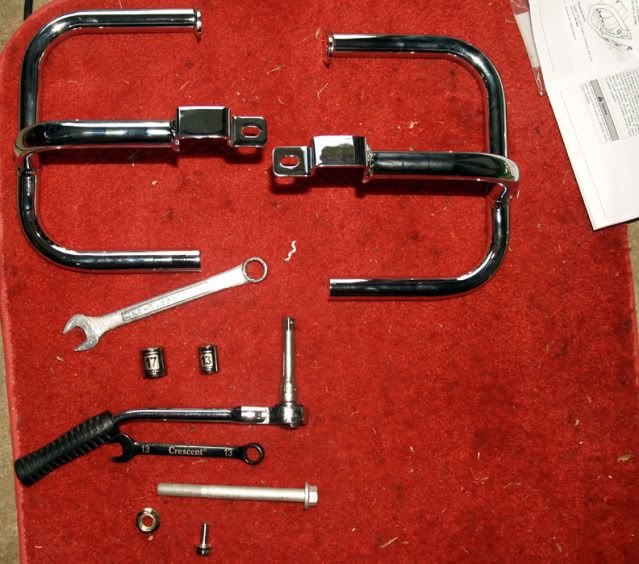
The Guards with bolts and tools needed to install. A 13mm socket, 17mm socket, extension and wratchet, and a 15mm wrench, plus a small hammer.

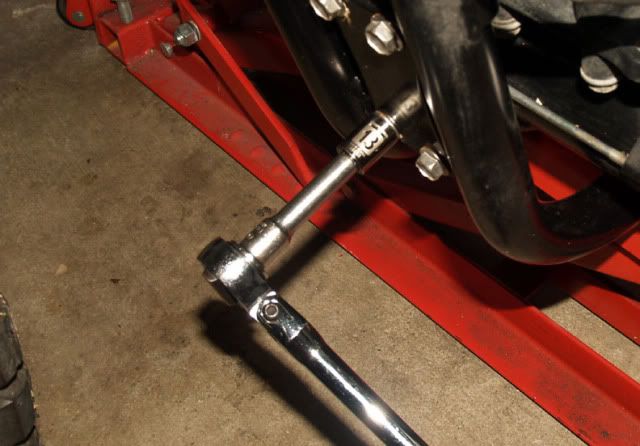
First I put the Scrambler on the bike jack since I lack a centerstand.
I also added a 2X4 to make sure the motor would not move when pulling out the pass through mount bolt. Not likely since the upper mount should hold it in place.
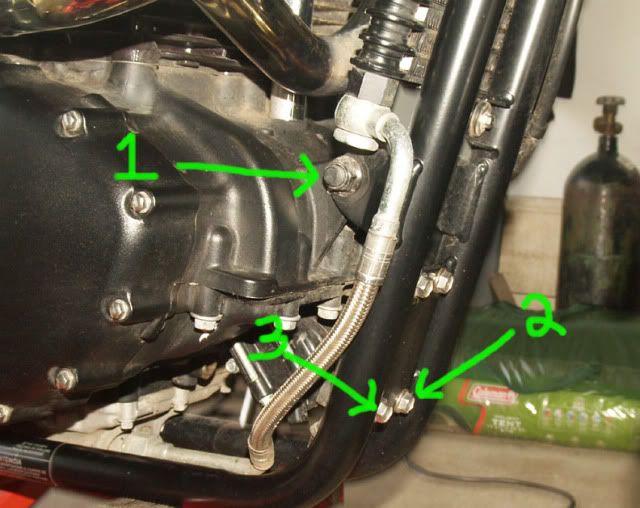
There are 3 bolts and a nut to remove. First remove number 2 and 3 then the nut on the right side, #1.
Removing the front bracket bolts, these you wont keep.
Back to #1, loosen the nut untill it only has a few threads holding, then tap it flush with the hammer, then remove the nut. Use the new bolt to tap the old one all the way out. This allows the brackets to stay aligned and makes installation easy. There was some tension on the bolt so it took tome firm taps.
When tapping out the old bolt make sure you thread the new one through the right guard so it is in place when the new bolt is installed.
I missed some shots of the installation of the bolts, I only have two hands. However, you add the other guard and the nut, but keep everything loose.
Note the new nut on the pass through bolt.
The lower bolts are new, and a little longer. I only had one, which is why the discount, so I used a couple BMW handlebar E-Torx bolts with washers to take their place.

Here is the picture of the old bolt, short one, and the new bolt, longer one.
Leave all the bolts loose until you get all of them started, then torque them down. 22nm for the front bolts, and 80nm for the main pass through bolt.
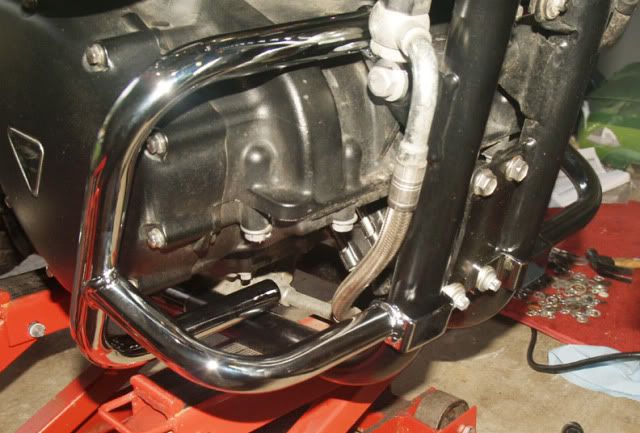
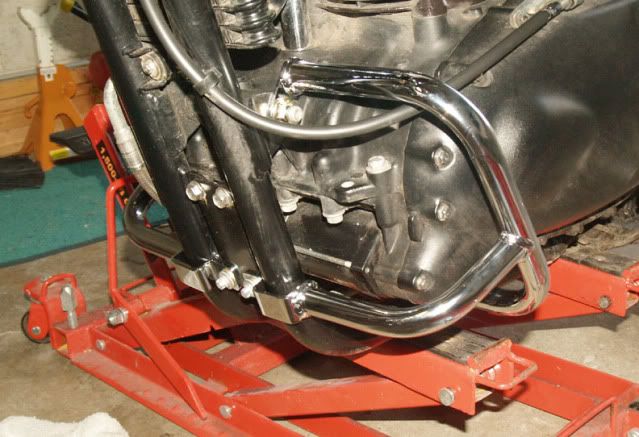
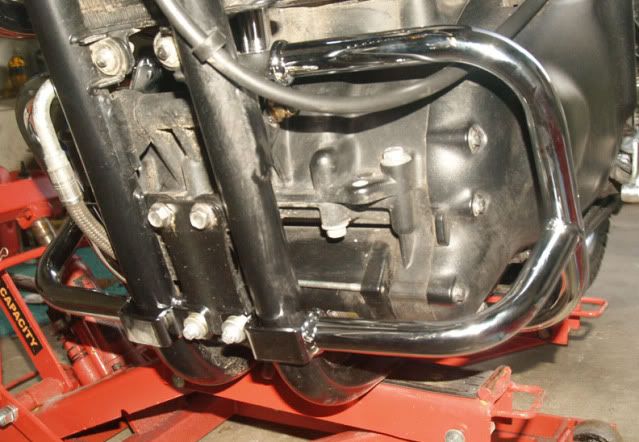
Fully installed and torqued down, you can see the weak point where the two lower bars are unattached,well known in these bars. I will be upgrading them with a stiffening bar in the future.
Obviously the exhaust sticks out past the guard, but they should still be fine.
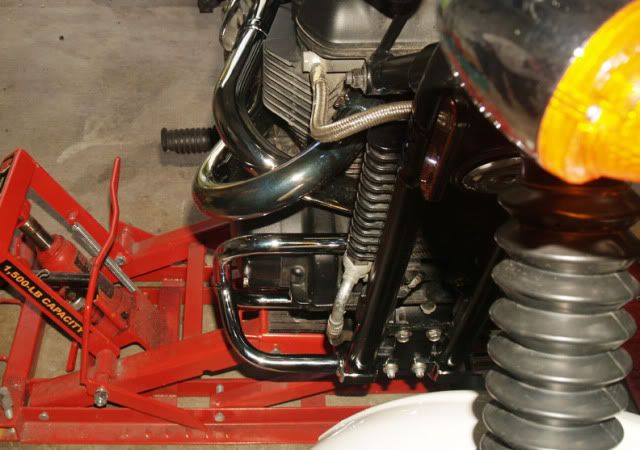
This side shows a bit more protection.
Overall I am pleased with the quality of the finish, and the ease of installation. Not a bad upgrade, though I think black may have looked better.
Jim
One of the first was to swap the exhaust, see that thread link, and to add a set of case guards. I got lucky and got these new off E-bay for $70. Not bad for Triumph accessories.
The Guards with bolts and tools needed to install. A 13mm socket, 17mm socket, extension and wratchet, and a 15mm wrench, plus a small hammer.
First I put the Scrambler on the bike jack since I lack a centerstand.
I also added a 2X4 to make sure the motor would not move when pulling out the pass through mount bolt. Not likely since the upper mount should hold it in place.
There are 3 bolts and a nut to remove. First remove number 2 and 3 then the nut on the right side, #1.
Removing the front bracket bolts, these you wont keep.
Back to #1, loosen the nut untill it only has a few threads holding, then tap it flush with the hammer, then remove the nut. Use the new bolt to tap the old one all the way out. This allows the brackets to stay aligned and makes installation easy. There was some tension on the bolt so it took tome firm taps.
When tapping out the old bolt make sure you thread the new one through the right guard so it is in place when the new bolt is installed.
I missed some shots of the installation of the bolts, I only have two hands. However, you add the other guard and the nut, but keep everything loose.
Note the new nut on the pass through bolt.
The lower bolts are new, and a little longer. I only had one, which is why the discount, so I used a couple BMW handlebar E-Torx bolts with washers to take their place.
Here is the picture of the old bolt, short one, and the new bolt, longer one.
Leave all the bolts loose until you get all of them started, then torque them down. 22nm for the front bolts, and 80nm for the main pass through bolt.
Fully installed and torqued down, you can see the weak point where the two lower bars are unattached,well known in these bars. I will be upgrading them with a stiffening bar in the future.
Obviously the exhaust sticks out past the guard, but they should still be fine.
This side shows a bit more protection.
Overall I am pleased with the quality of the finish, and the ease of installation. Not a bad upgrade, though I think black may have looked better.
Jim