


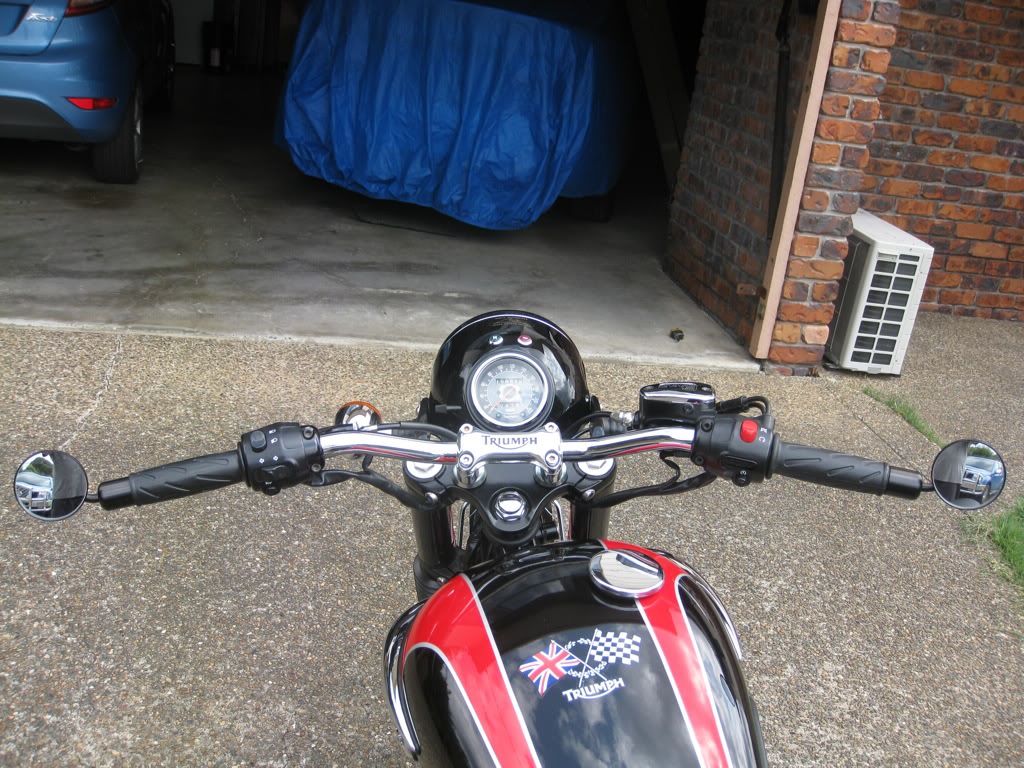
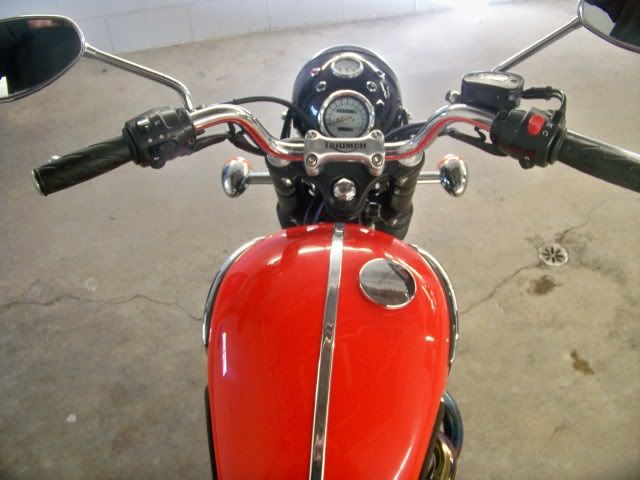
Hi All, Must of had one of those away with the fairies idle moments recently, may have been when I was mowing the lawn, in a meeting at work or when the missus was talking and I had switched off but I thought gee the speedo mounted in the headlight bucket might look cool and that would be just what I needed to do to complement the lower look of my bonnie since fitting some tracker bars, getting rid of the ugly high moped bars and this would get rid of the mickey mouse ears instrument cluster that now are looking even more out of place. The following is what I did but I hadn't planned on documenting it so some pictures are there and some have been missed so you will just have to picture in your head what I am talking about plus this was not really planned and is very much trial and error.
First up I had the chrome stripped on the bucket because the bucket will be black and with the welding required I didn't want any peeling happening. I worked out where the speedo would sit best as far as seeing was concerned and marked this area. I then had a pod machined up. This was to the same specs as the dash hole in ID and thickness to accommodate the grommet and three mm bigger in OD. It also was cupped with an outer wall height of 10mm and 3mm thick as this will be required to accommodate the indifference of the curve of the bucket to the flat face of the pod. This was also slotted for the trip metre reset knob to pass through.
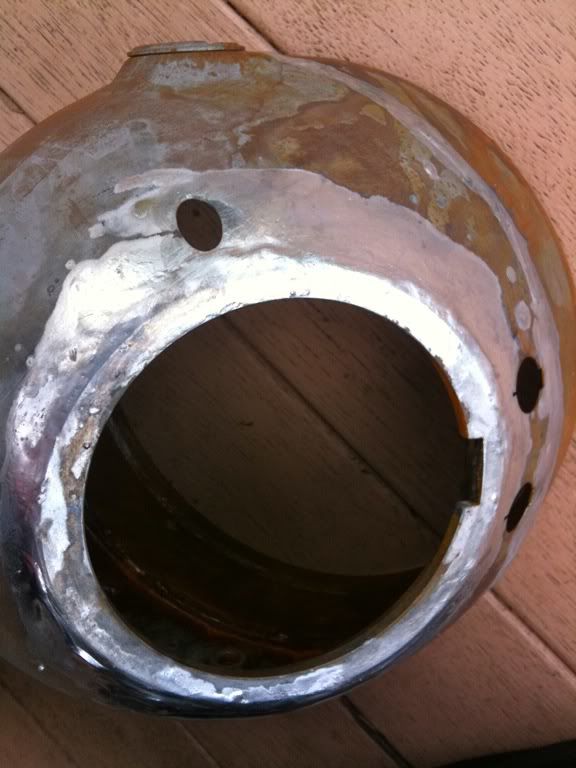
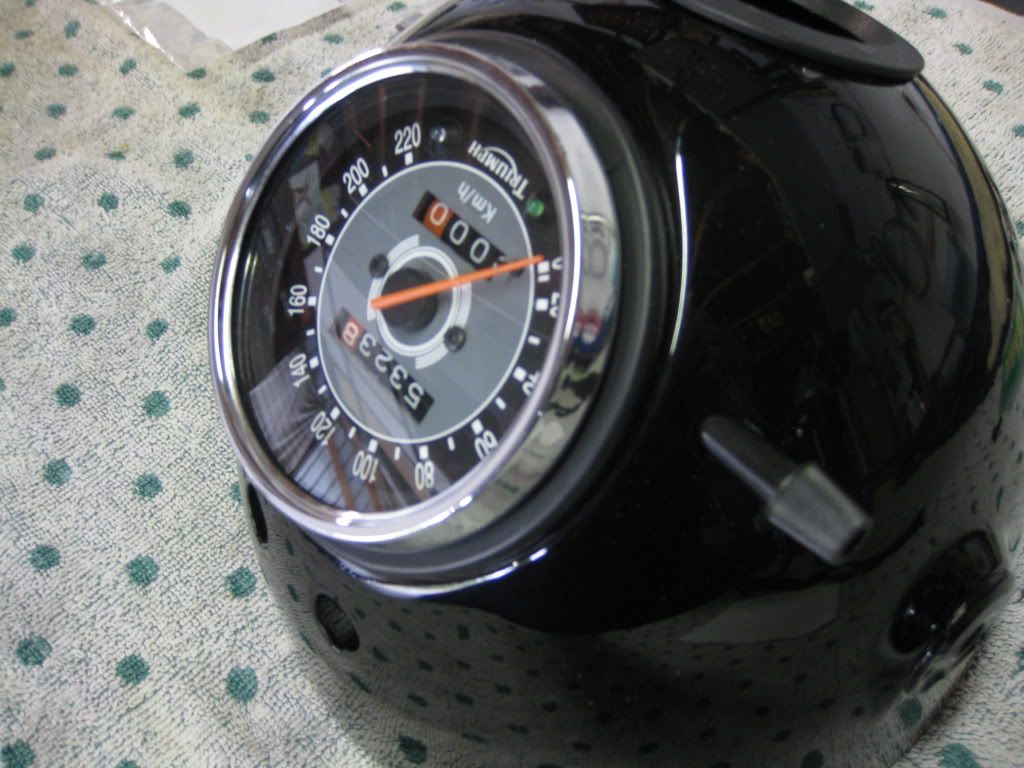
With the pod now machined I drilled a hole using a hole saw (Same diameter as pod) into the bucket at the marked point and then filed it to fit the pod neatly. The pod was then fitted with the top front and rear sitting flush with the bucket (The sides of the bucket were slightly lower on the sides of the pod because of the curve). The pod was then tack welded to the inside of the bucket to hold it into place. The sides of the pod were now profiled to suit the contour of the buckets curves. The speedo was now fitted and guess what... the headlight would not go in as the plug hit the speedo so back to the drawing board.
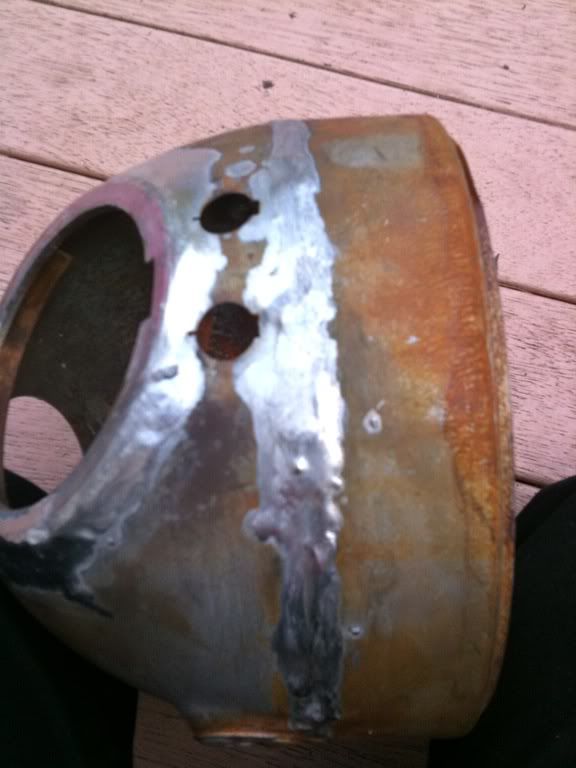
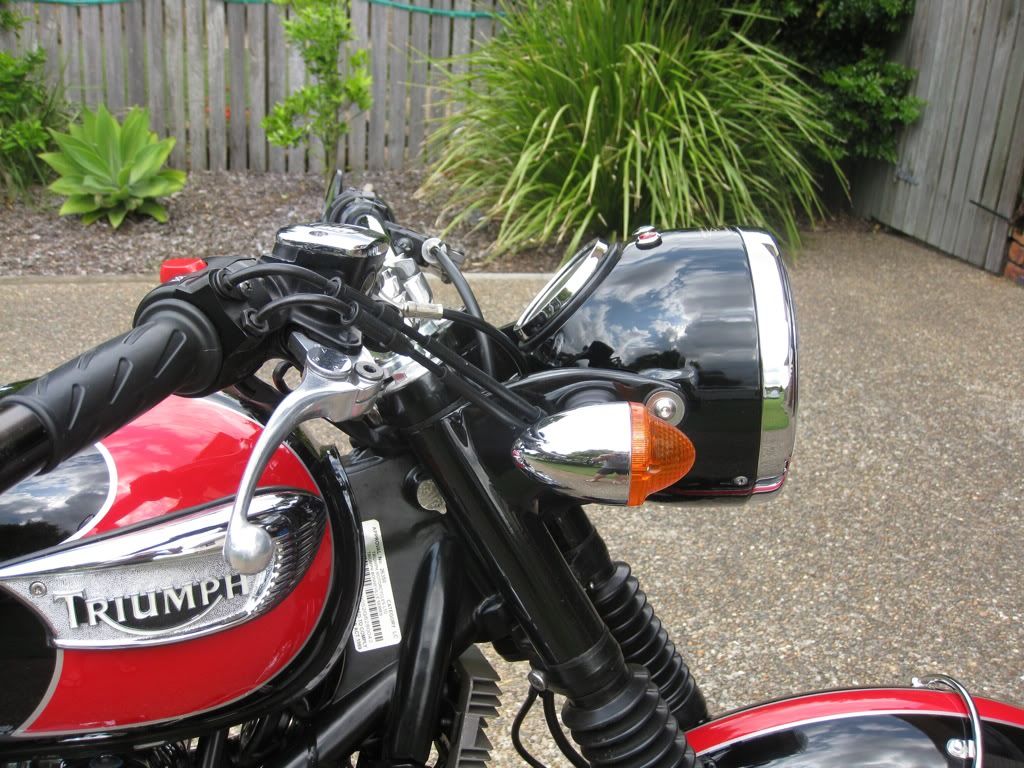
It now seems the headlight bucket has to be extended by about say ummmm looks about probably geee 40 mm seems like a good guesstamet. This size when using a cardboard template seemed to allow the headlight to miss the speedo and still look in proportion. I could not get any sheet metal worker interested in fabricating me an extension so I thought machining one would be better but by trial and error it was discovered not to machine the extension to the same diameter as the bucket (Which you would think) but to match the headlight (There is a difference) and this was then tapered down ever so slightly to suit the bucket OD. When done the other way the headlight would sit proud in places of the extension. With the extension now sorted this was tack welded inside. The headlight now fitted but not using the factory cup/retainer (It hit) so a conventional u shaped bracket was fabricated, this also needed to be tweaked slightly as the headlight was still a tight fit.
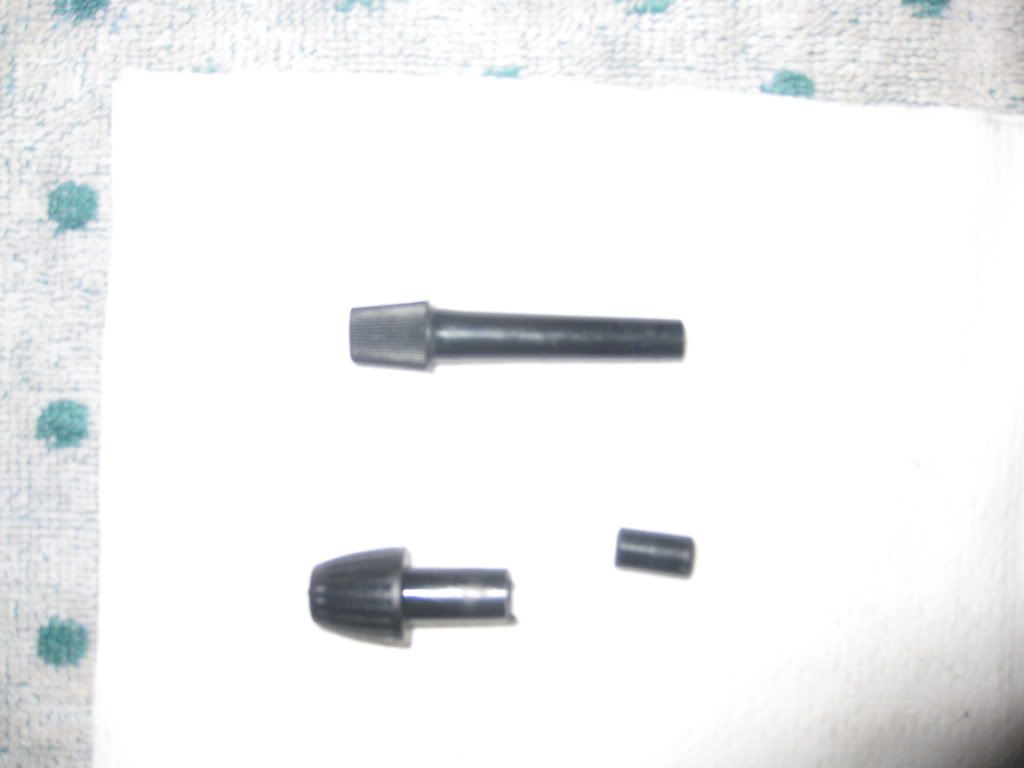
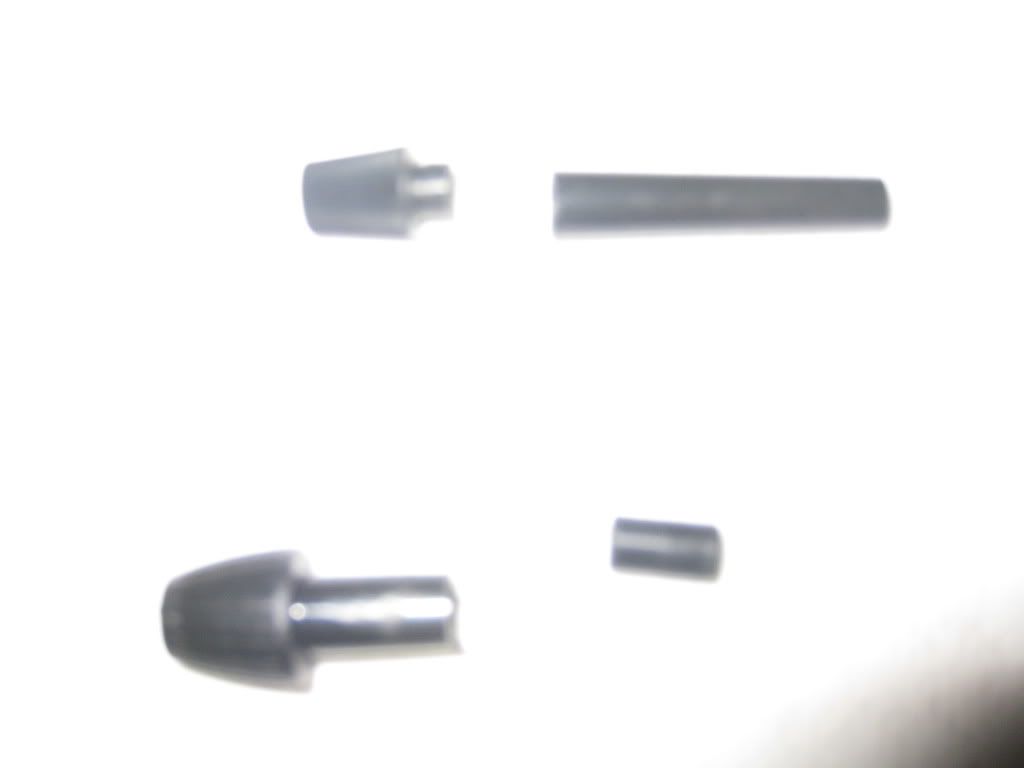
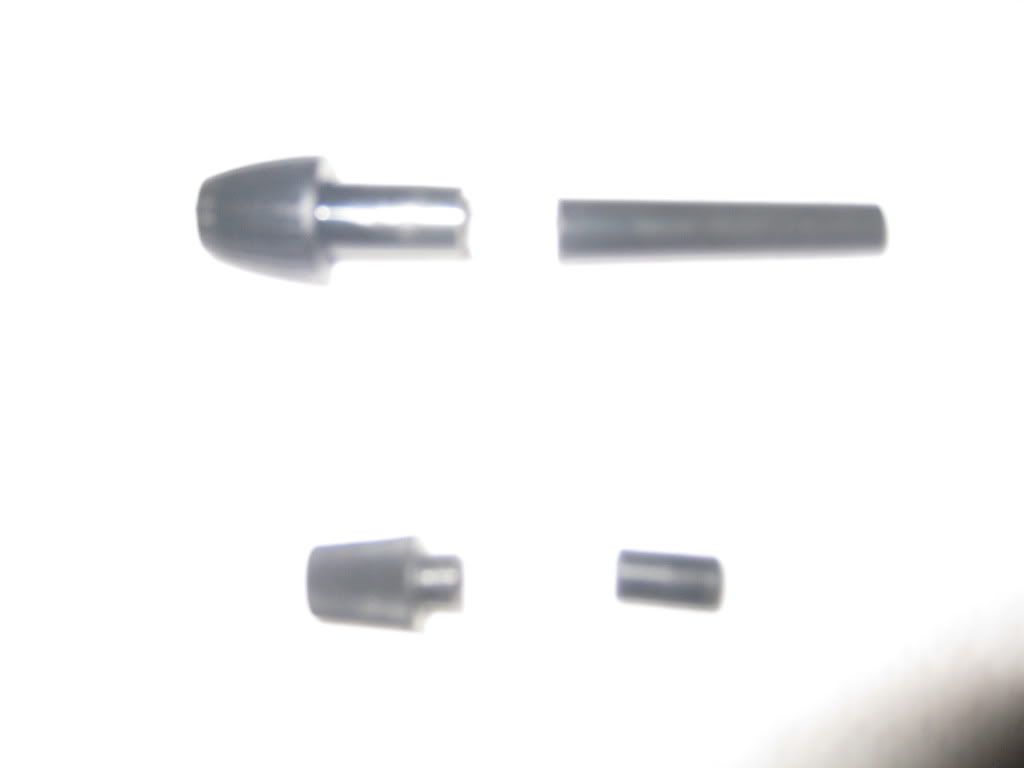
With the headlight now fitted it was now working out what to do with the trip metre reset knob being that it was going to be too short to clear the outside of the bucket. At first I cut the original knob (This is an 06 T100, I think there are different types on different years) and made up a sleeve to extend it but for some reason at the end of the project this ended up being still too short and the sleeve didn't fit through the hole I had drilled. So back to the drawing board....again. This is where this site comes in handy, I had remembered reading a thread where someone had mentioned that a scrambler reset knob was longer so a call to triumph and a knob was ordered. Holy cow in a corset batman they are long...too long sticking out way too far and it hit my headlight bracket. Problem solved by cutting down the scrambler knob to the length required, I was then able to drill it out a bit so the shank on the cut down original knob could be machined down and pressed fitted together (I liked the smaller original knob much better than the big scrambler knob). This worked so well I was worried of it being wrong but nope it is perfect.
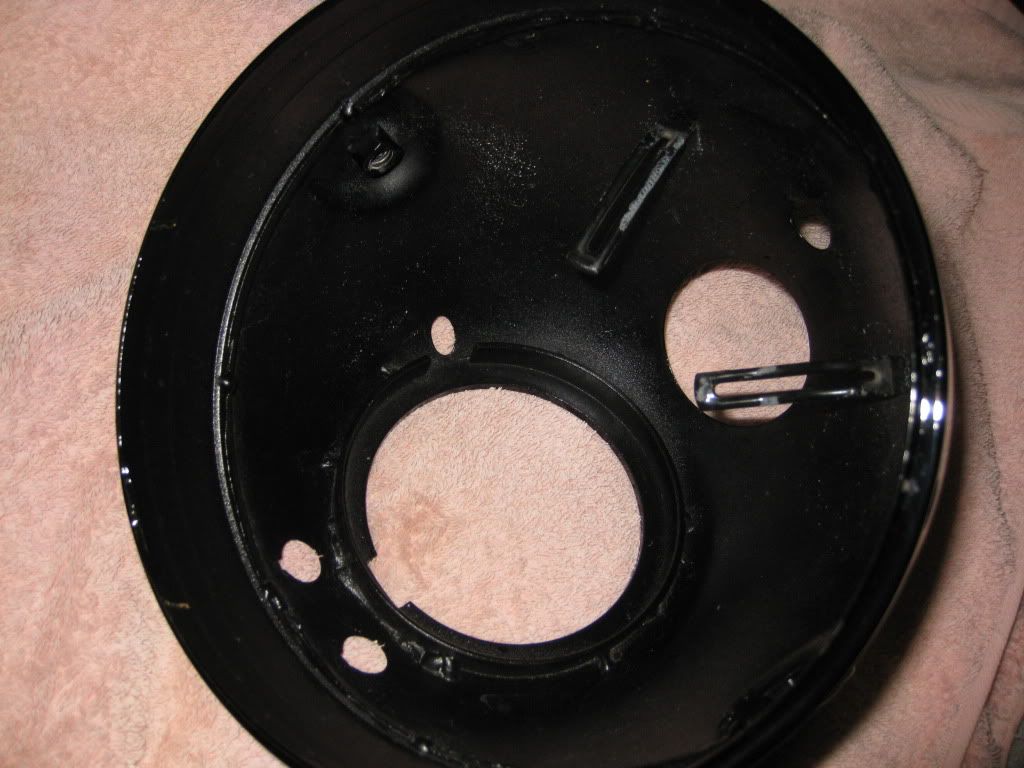
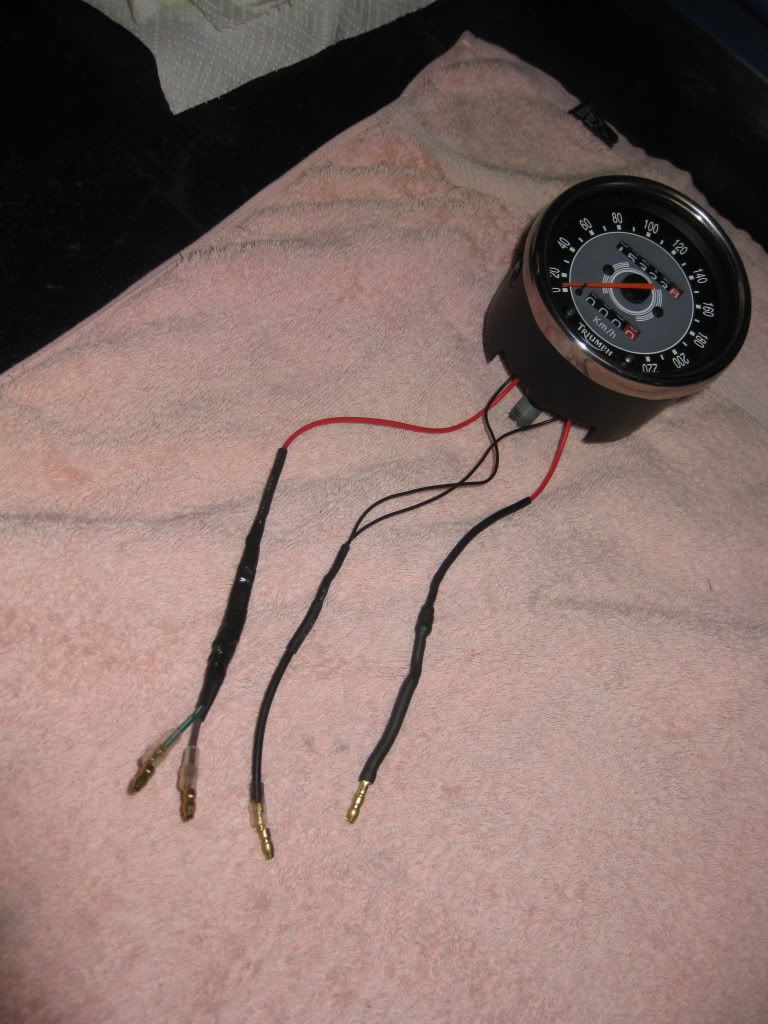
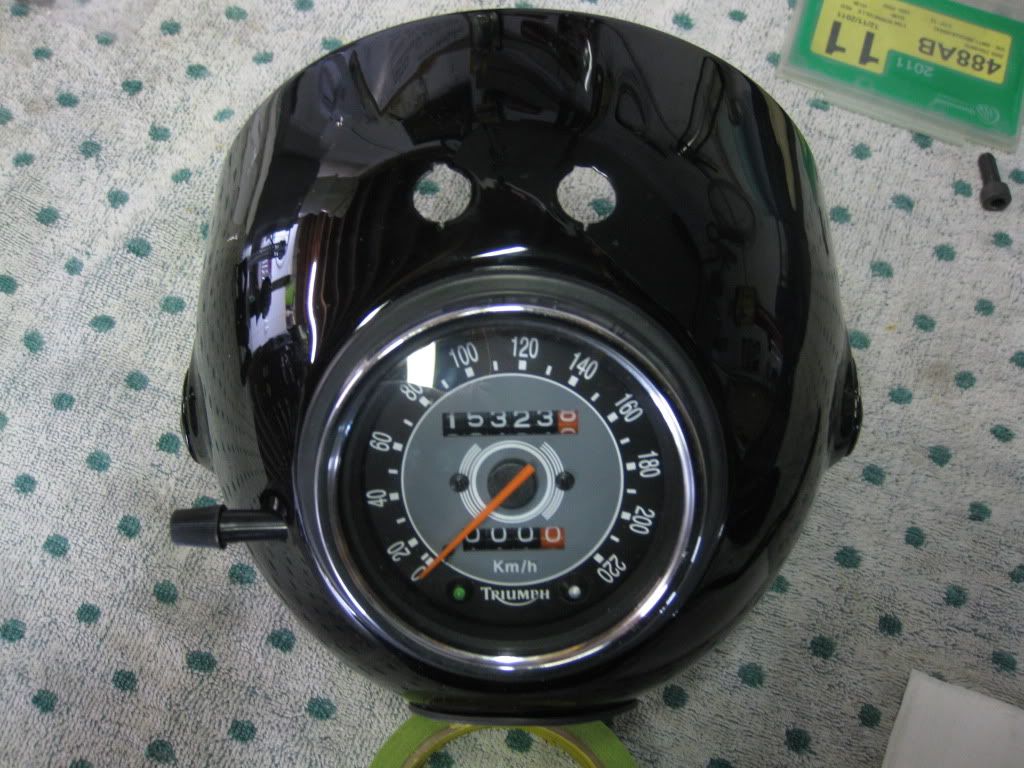
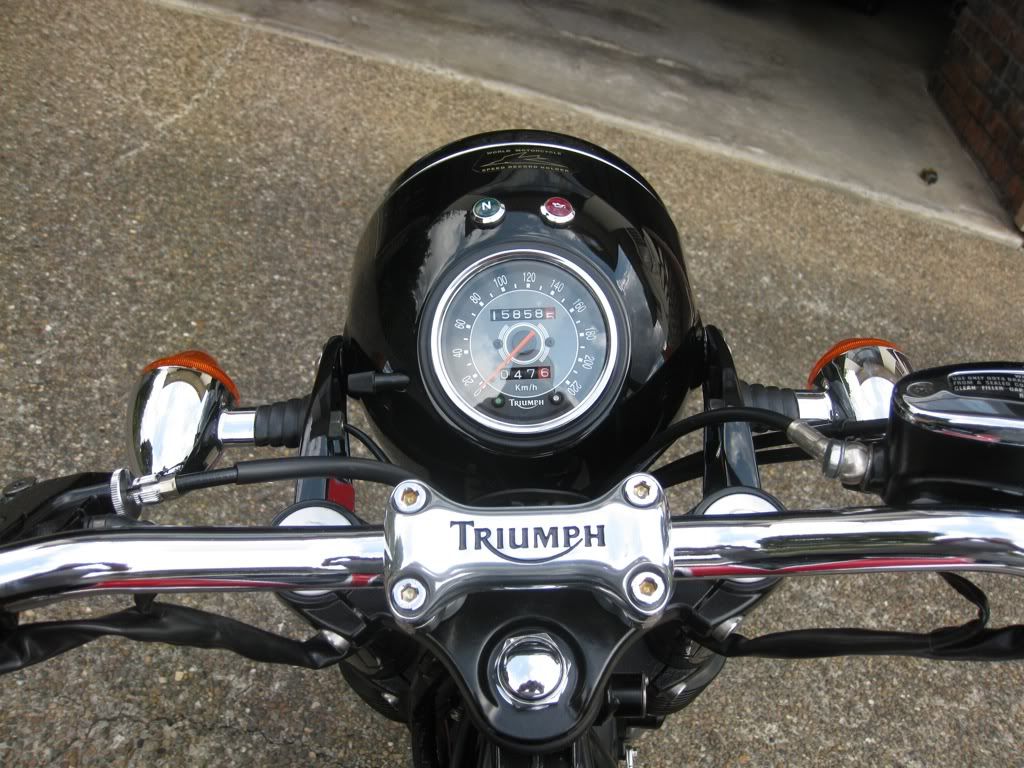
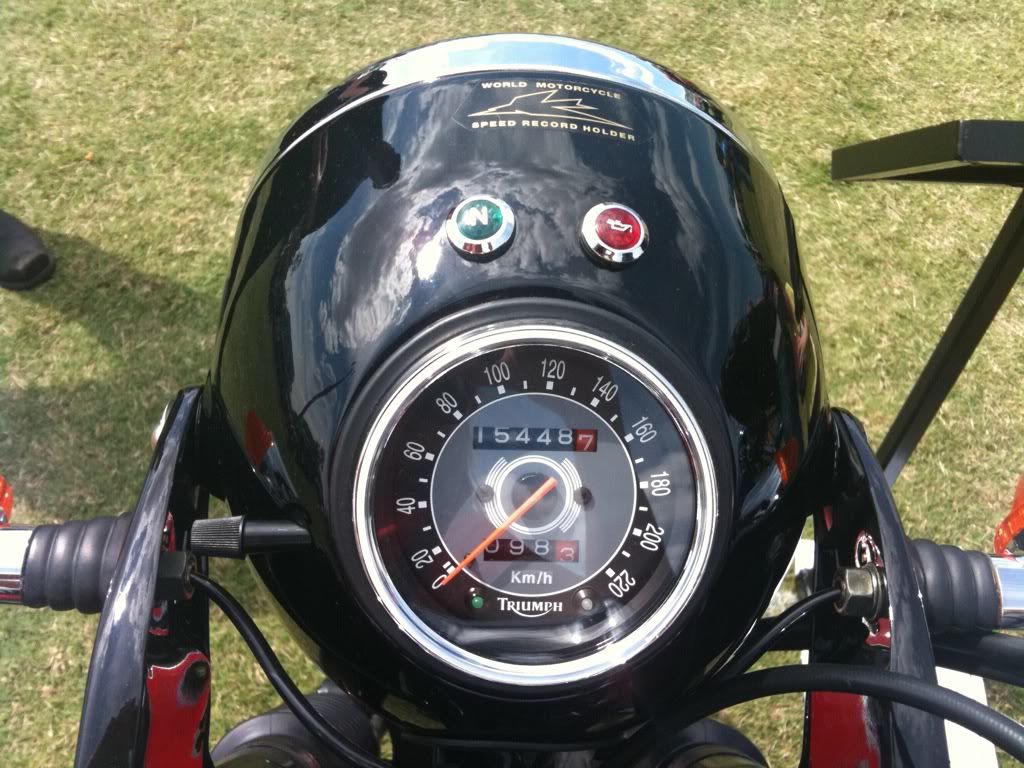
With all of this out of the way I was now left wondering what to do with the idiot lights. At first I made up a small flat plate picking up the original dash mounting holes and had the lights laid out as per original but this did obstruct the very lower part of the speedo when viewing but it didn't obstruct the numbers but in the end it just didn't look right. I then tried laying out the light's lenses as if they were fitted in the bucket. Two looked good but four was too many, made it look too much like jewellery on a bangle. It was decided to mount two idiot lights in the bucket and fit two LED's in the speedo face. The oil and neutral lights were fitted in the bucket and the indicator and high beam lights were decided to be converted to LED's. This just meant drilling a couple of holes in the bucket and sending the speedo off to a local instrument guy to have the LED's fitted. There wasn't much modifying required to the harness leaving all the tacho plugs there but because the poms run there earths through the opposite indicator this meant some diodes and a few extra wires needed to be fitted. I actually latter found out that there is a thread with this info on it.
Headlight fitted, speedo fitted, Idiot lights fitted, LED's hooked up and working and the trip meter knob fitting and working great, all that was now needed was to prep and paint the bucket. All the joins were lead filled and sanded back and the bucket painted in base coat black with 2 pak clear coat.
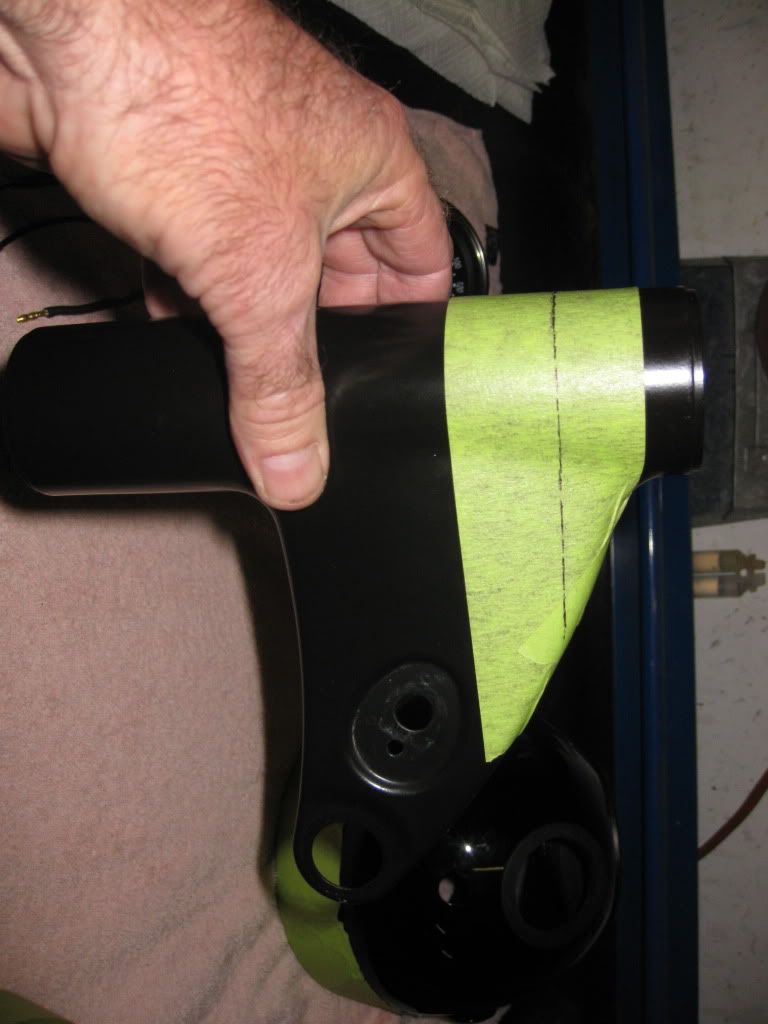
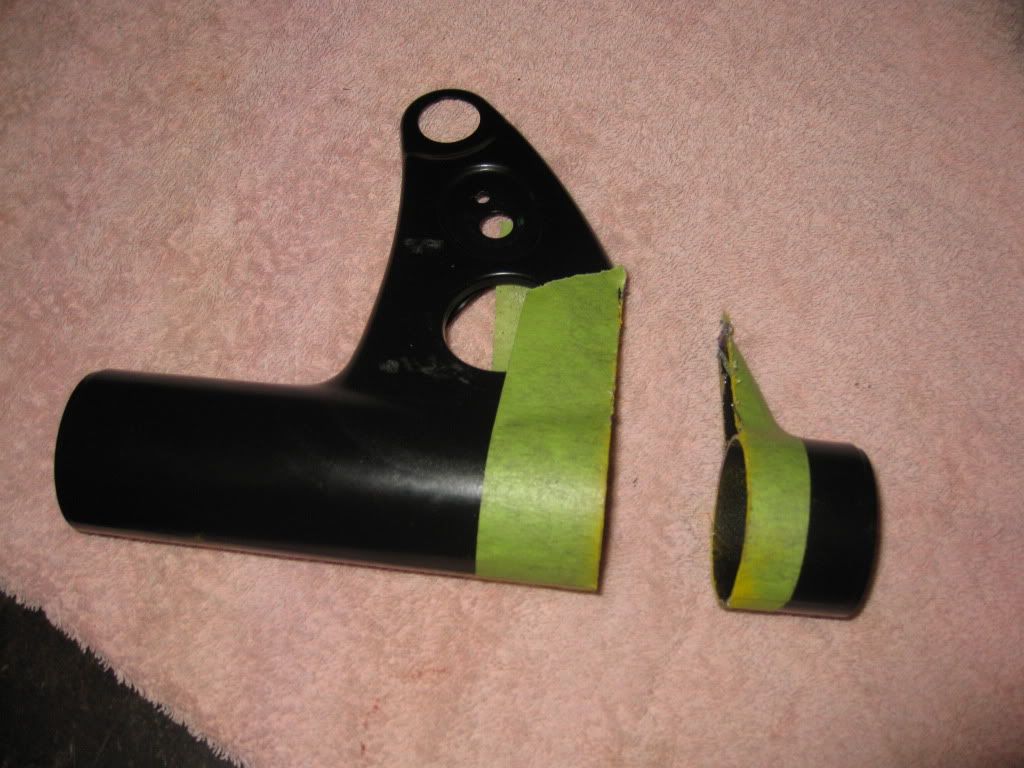
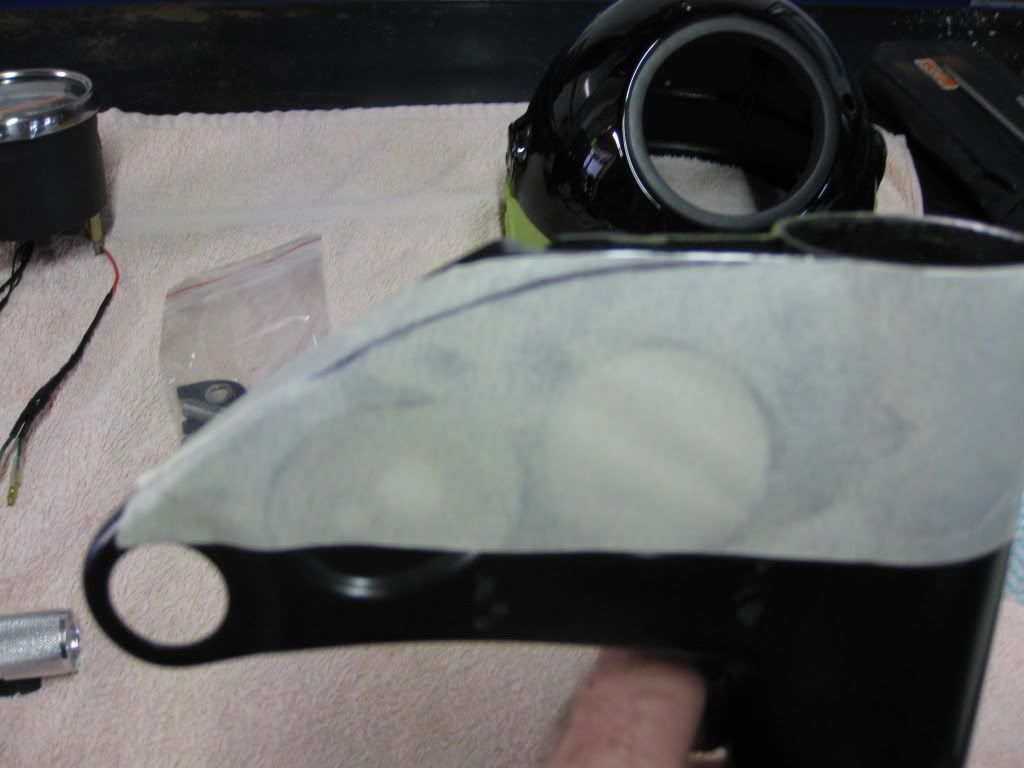
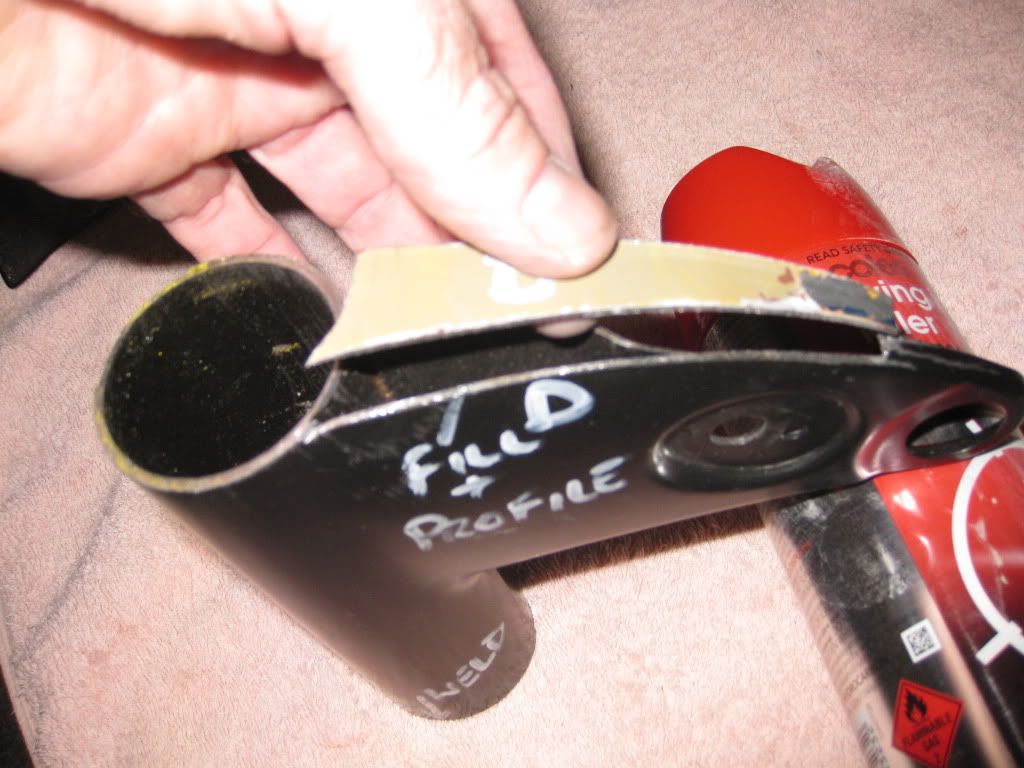
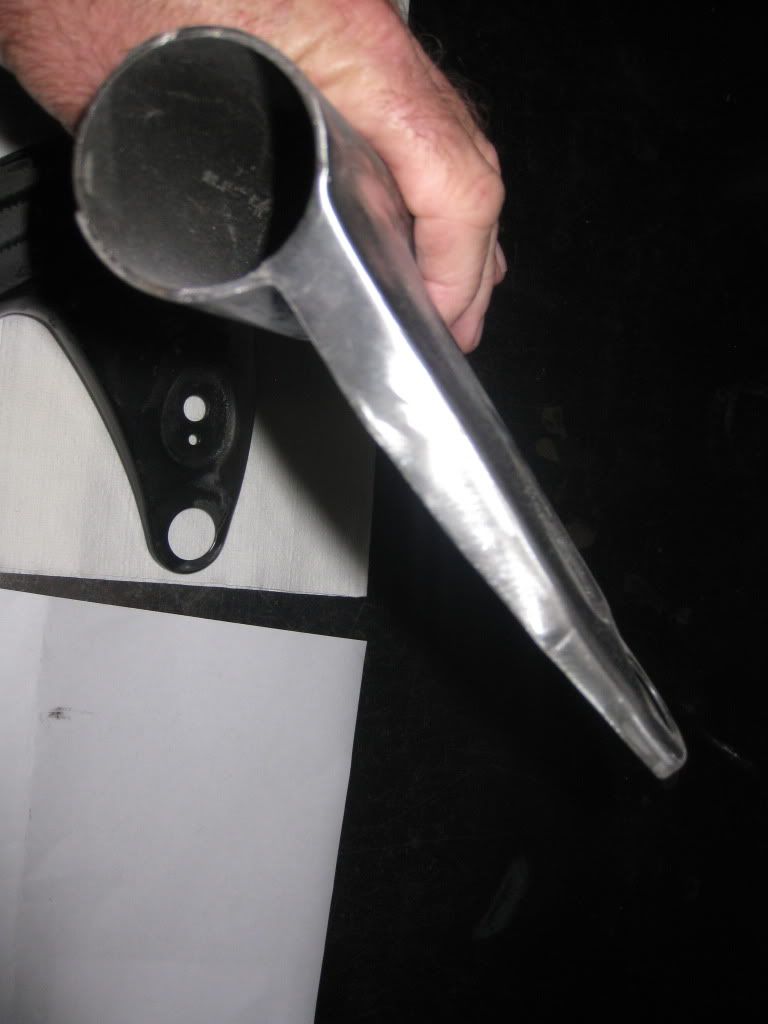
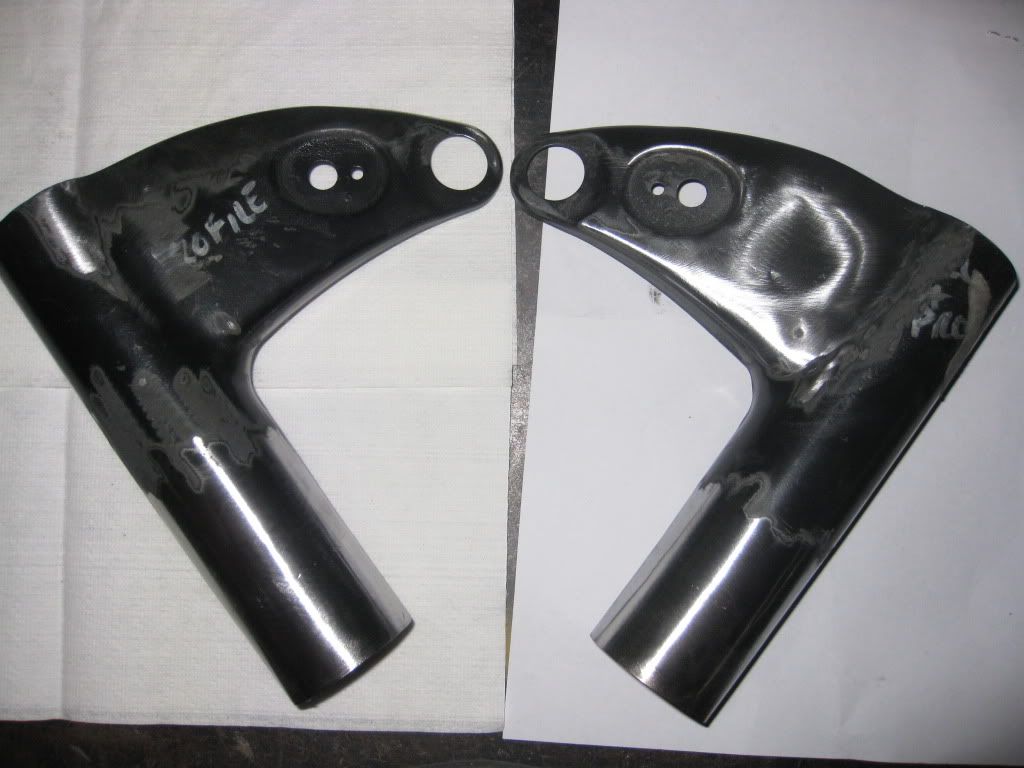
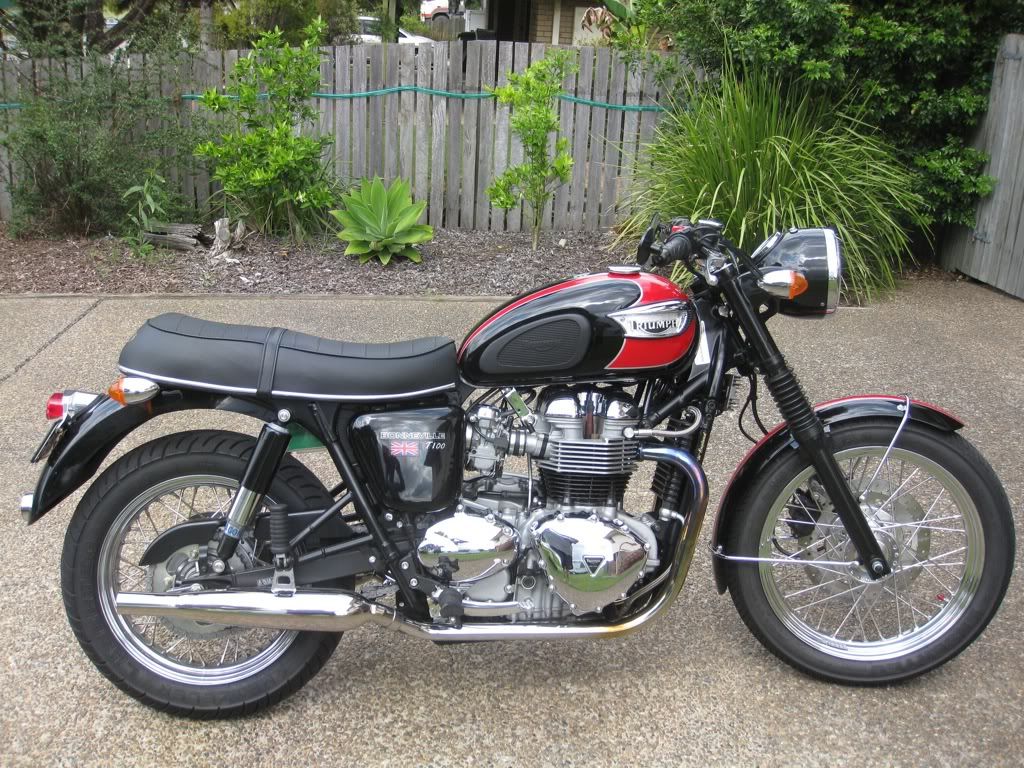
With everything now fitted up, standing back looking at it I felt that the original position/height of the headlight was now too low giving the bike a hunch back look so I decided to lift the headlight up by 35mm. This could have been achieved by fitting after market headlight brackets which allow the headlight to be moved up and down between the fork clamps but this would have taken away the original look I was still trying to retain. Therefore the decision was made to cut the original brackets down by 35mm and extended at the bottom by 35mm.
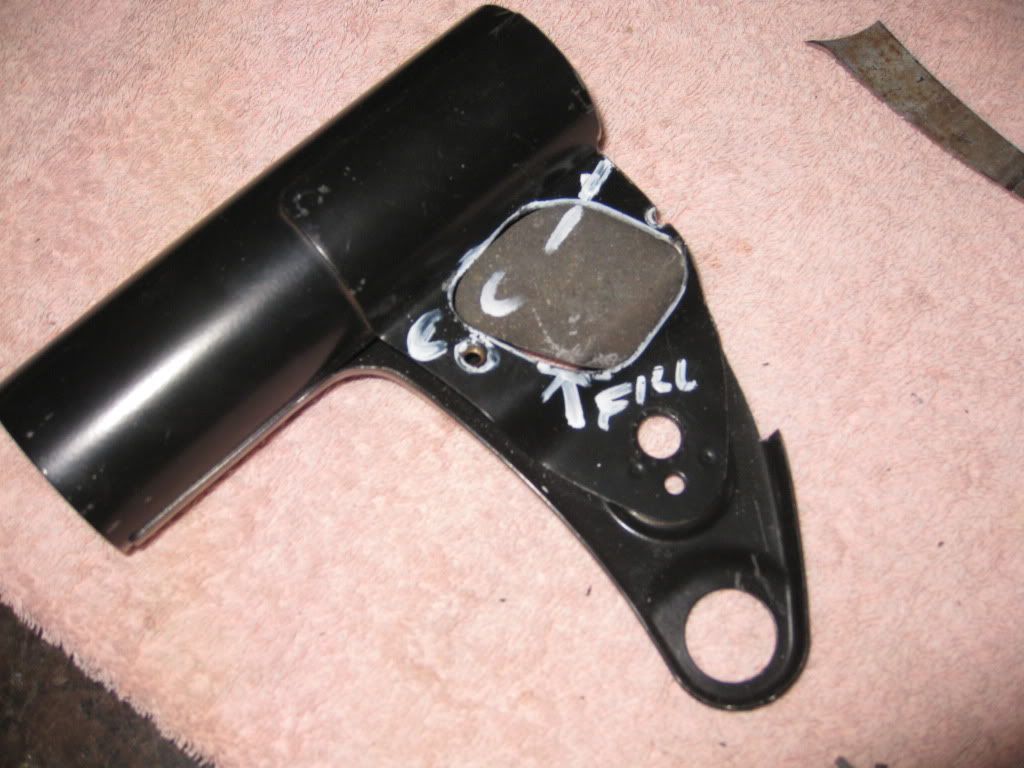
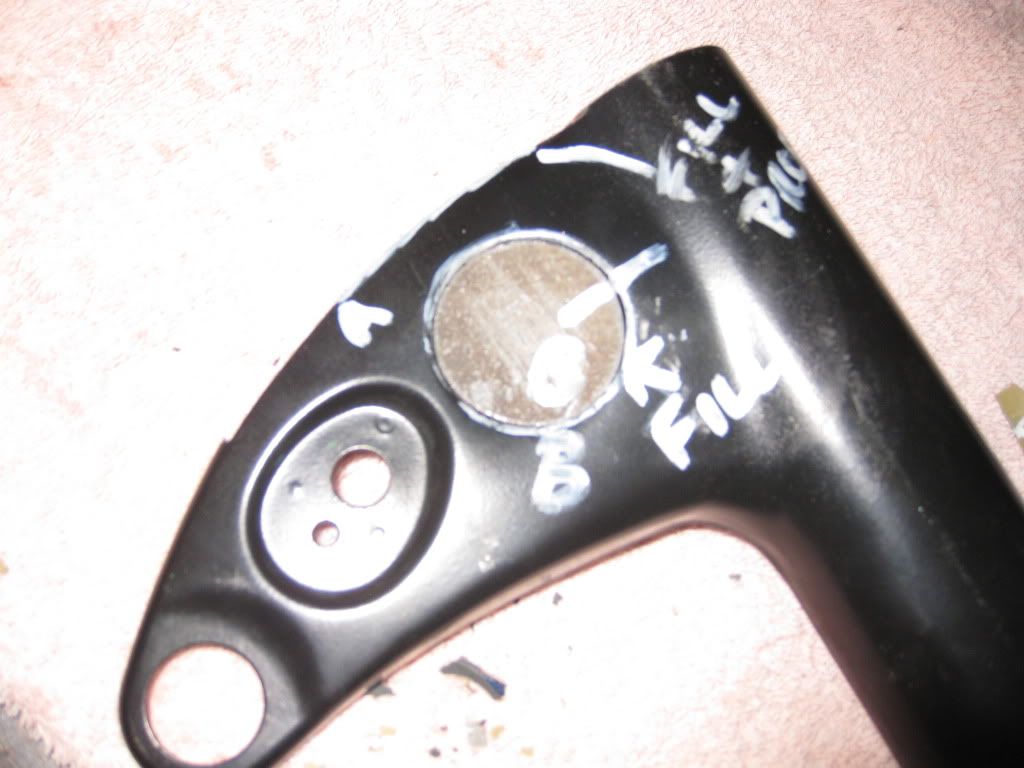
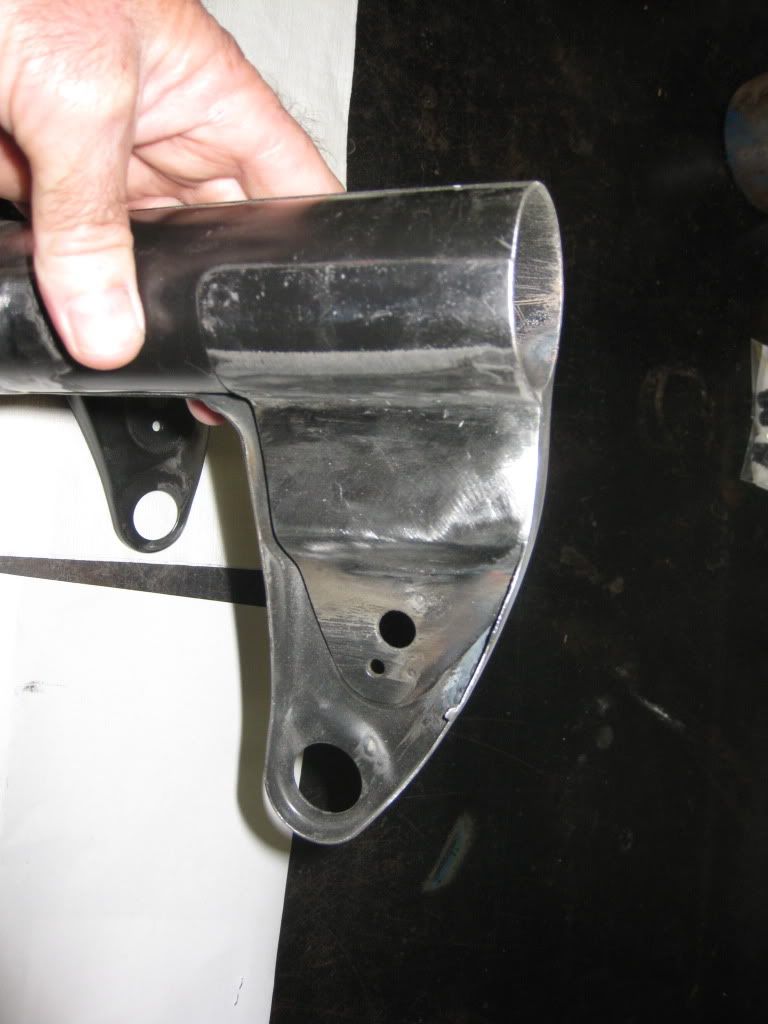
I machined up some sleeves to be welded on the bottom and measuring down 35 mm from the top I was able to cut a straight line and then profile a new arch to retain the lines. The gap at the top was able to be plated up and the key holes on the left hand side bracket were able to be blanked off (This is something I wanted to do since relocating the key).
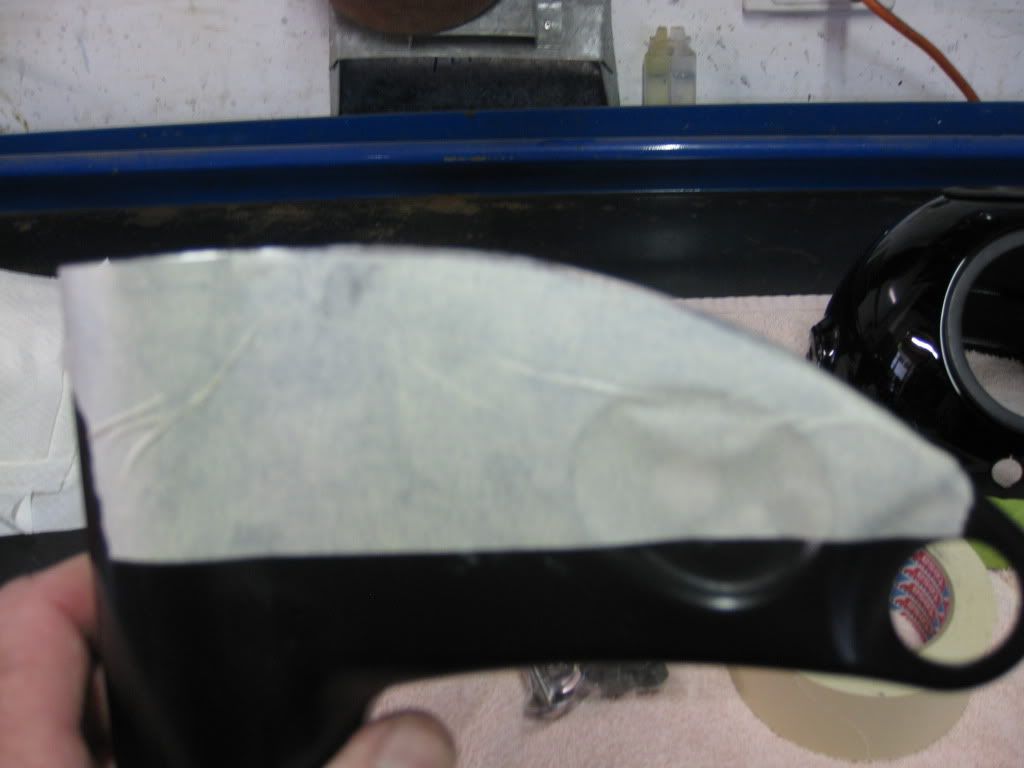

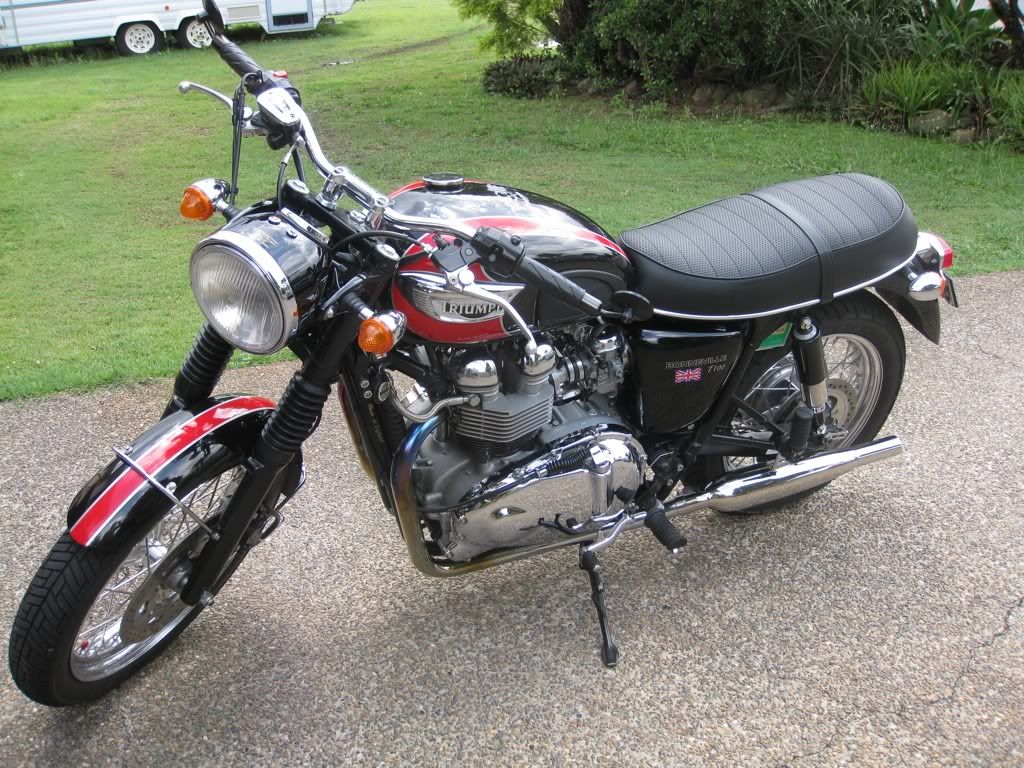
All turned out well and when fitted had the headlight sitting just at the right height. No one can pick the brackets have been altered which is how I like it (I wanted the changes to be subtle) but the speedo definitely had people talking at a show recently were I had the bikes on show. These bikes are such a great blank canvas I reckon you could own a dozen of them and have them all looking different. I would love to do a retro early 37 38 39 speed twin version and a TT version. More images the next reply
Cheers TD
First up I had the chrome stripped on the bucket because the bucket will be black and with the welding required I didn't want any peeling happening. I worked out where the speedo would sit best as far as seeing was concerned and marked this area. I then had a pod machined up. This was to the same specs as the dash hole in ID and thickness to accommodate the grommet and three mm bigger in OD. It also was cupped with an outer wall height of 10mm and 3mm thick as this will be required to accommodate the indifference of the curve of the bucket to the flat face of the pod. This was also slotted for the trip metre reset knob to pass through.
With the pod now machined I drilled a hole using a hole saw (Same diameter as pod) into the bucket at the marked point and then filed it to fit the pod neatly. The pod was then fitted with the top front and rear sitting flush with the bucket (The sides of the bucket were slightly lower on the sides of the pod because of the curve). The pod was then tack welded to the inside of the bucket to hold it into place. The sides of the pod were now profiled to suit the contour of the buckets curves. The speedo was now fitted and guess what... the headlight would not go in as the plug hit the speedo so back to the drawing board.
It now seems the headlight bucket has to be extended by about say ummmm looks about probably geee 40 mm seems like a good guesstamet. This size when using a cardboard template seemed to allow the headlight to miss the speedo and still look in proportion. I could not get any sheet metal worker interested in fabricating me an extension so I thought machining one would be better but by trial and error it was discovered not to machine the extension to the same diameter as the bucket (Which you would think) but to match the headlight (There is a difference) and this was then tapered down ever so slightly to suit the bucket OD. When done the other way the headlight would sit proud in places of the extension. With the extension now sorted this was tack welded inside. The headlight now fitted but not using the factory cup/retainer (It hit) so a conventional u shaped bracket was fabricated, this also needed to be tweaked slightly as the headlight was still a tight fit.
With the headlight now fitted it was now working out what to do with the trip metre reset knob being that it was going to be too short to clear the outside of the bucket. At first I cut the original knob (This is an 06 T100, I think there are different types on different years) and made up a sleeve to extend it but for some reason at the end of the project this ended up being still too short and the sleeve didn't fit through the hole I had drilled. So back to the drawing board....again. This is where this site comes in handy, I had remembered reading a thread where someone had mentioned that a scrambler reset knob was longer so a call to triumph and a knob was ordered. Holy cow in a corset batman they are long...too long sticking out way too far and it hit my headlight bracket. Problem solved by cutting down the scrambler knob to the length required, I was then able to drill it out a bit so the shank on the cut down original knob could be machined down and pressed fitted together (I liked the smaller original knob much better than the big scrambler knob). This worked so well I was worried of it being wrong but nope it is perfect.
With all of this out of the way I was now left wondering what to do with the idiot lights. At first I made up a small flat plate picking up the original dash mounting holes and had the lights laid out as per original but this did obstruct the very lower part of the speedo when viewing but it didn't obstruct the numbers but in the end it just didn't look right. I then tried laying out the light's lenses as if they were fitted in the bucket. Two looked good but four was too many, made it look too much like jewellery on a bangle. It was decided to mount two idiot lights in the bucket and fit two LED's in the speedo face. The oil and neutral lights were fitted in the bucket and the indicator and high beam lights were decided to be converted to LED's. This just meant drilling a couple of holes in the bucket and sending the speedo off to a local instrument guy to have the LED's fitted. There wasn't much modifying required to the harness leaving all the tacho plugs there but because the poms run there earths through the opposite indicator this meant some diodes and a few extra wires needed to be fitted. I actually latter found out that there is a thread with this info on it.
Headlight fitted, speedo fitted, Idiot lights fitted, LED's hooked up and working and the trip meter knob fitting and working great, all that was now needed was to prep and paint the bucket. All the joins were lead filled and sanded back and the bucket painted in base coat black with 2 pak clear coat.
With everything now fitted up, standing back looking at it I felt that the original position/height of the headlight was now too low giving the bike a hunch back look so I decided to lift the headlight up by 35mm. This could have been achieved by fitting after market headlight brackets which allow the headlight to be moved up and down between the fork clamps but this would have taken away the original look I was still trying to retain. Therefore the decision was made to cut the original brackets down by 35mm and extended at the bottom by 35mm.
I machined up some sleeves to be welded on the bottom and measuring down 35 mm from the top I was able to cut a straight line and then profile a new arch to retain the lines. The gap at the top was able to be plated up and the key holes on the left hand side bracket were able to be blanked off (This is something I wanted to do since relocating the key).
All turned out well and when fitted had the headlight sitting just at the right height. No one can pick the brackets have been altered which is how I like it (I wanted the changes to be subtle) but the speedo definitely had people talking at a show recently were I had the bikes on show. These bikes are such a great blank canvas I reckon you could own a dozen of them and have them all looking different. I would love to do a retro early 37 38 39 speed twin version and a TT version. More images the next reply
Cheers TD

")