zmilin
Street Tracker
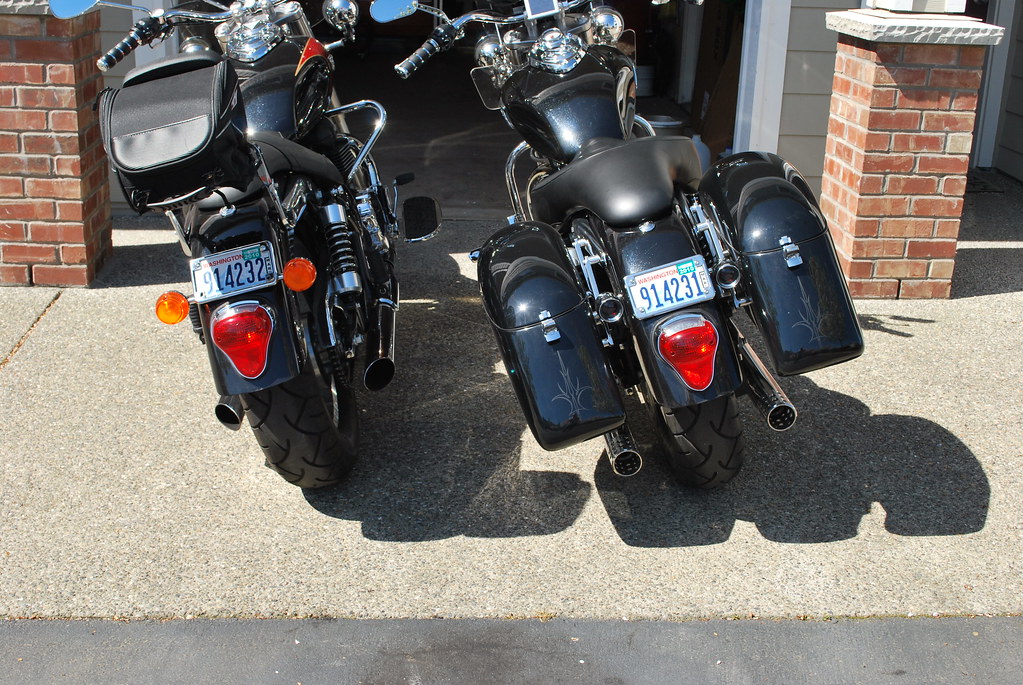
I posted this in BA.com so for some of you this is redundant but there may be folks here that arent over there so here it is.....
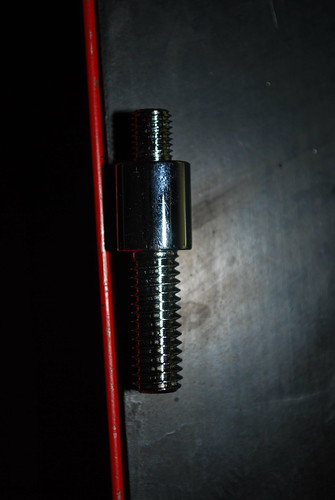
Also had this little addition
OK...so I figured I’d share this with everyone. I made this in under an hour for under $10 with hand tools.
BEFORE YOU PROCEED
• Your working with metal...its sharp after you cut it, BE CAREFUL!
• You will be displacing your turn signals….have a plan for those.
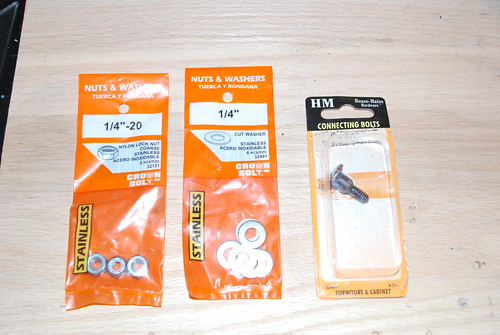
SUPPLIES NEEDED
Sheet metal – I went to Home Depot and got a small sheet (Shingle) for $.95.
Screws with flat heads on them. They are in the screw aisle above the assorted specialty screw trays. They are brown in color. Part # – 23MMCNBLTWBZ $3.97
SS washers and nuts – ¼ x 20 coarse thread, they are $.98 per bag. I got nylon lock nuts because I didn’t want to use locktite but wanted to make sure these weren’t going to come off.
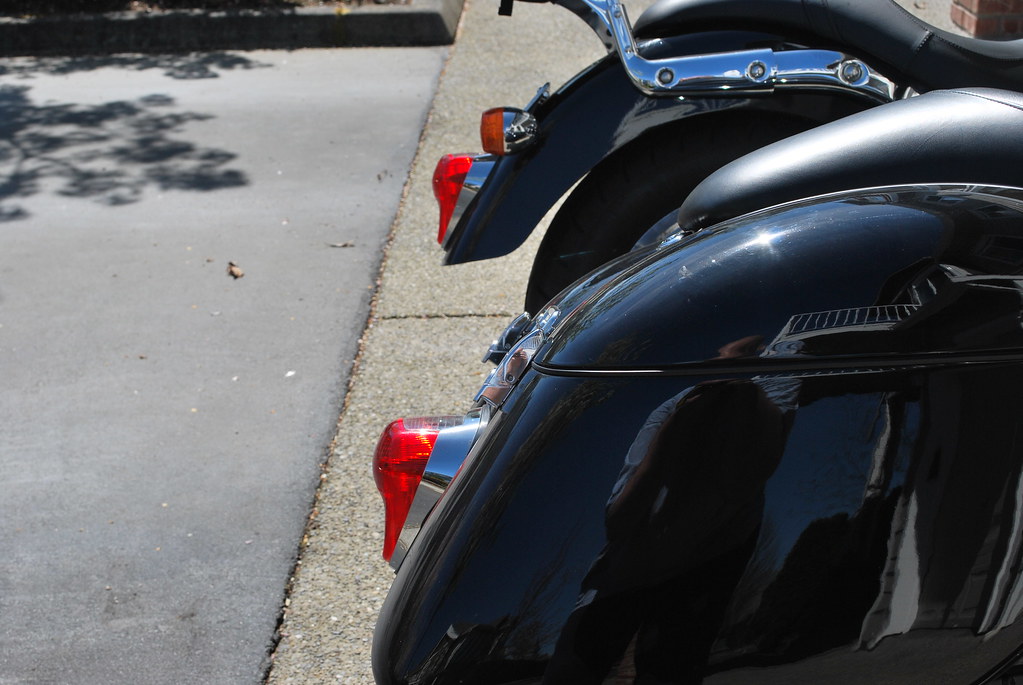
REMOVE YOUR REAR INDICATOR ASSEMBLY
Remove your lic plate. Disconnect turn signals at the small black plastic connectors.
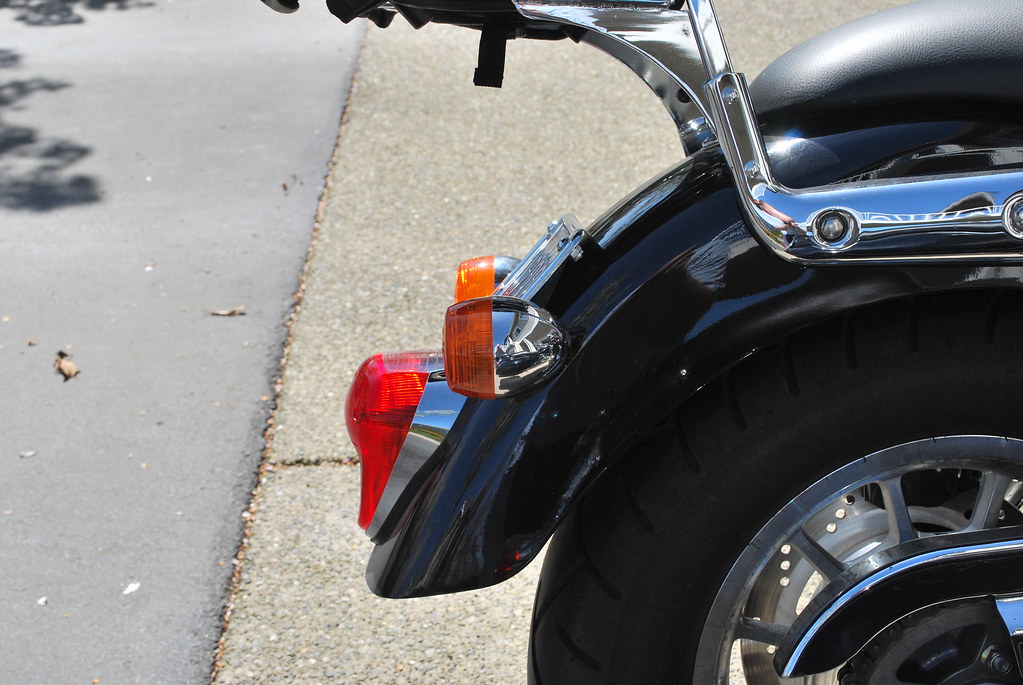
Remove your tail light assembly (3 x 10mm bolts on the underside of the fender/mudguard).
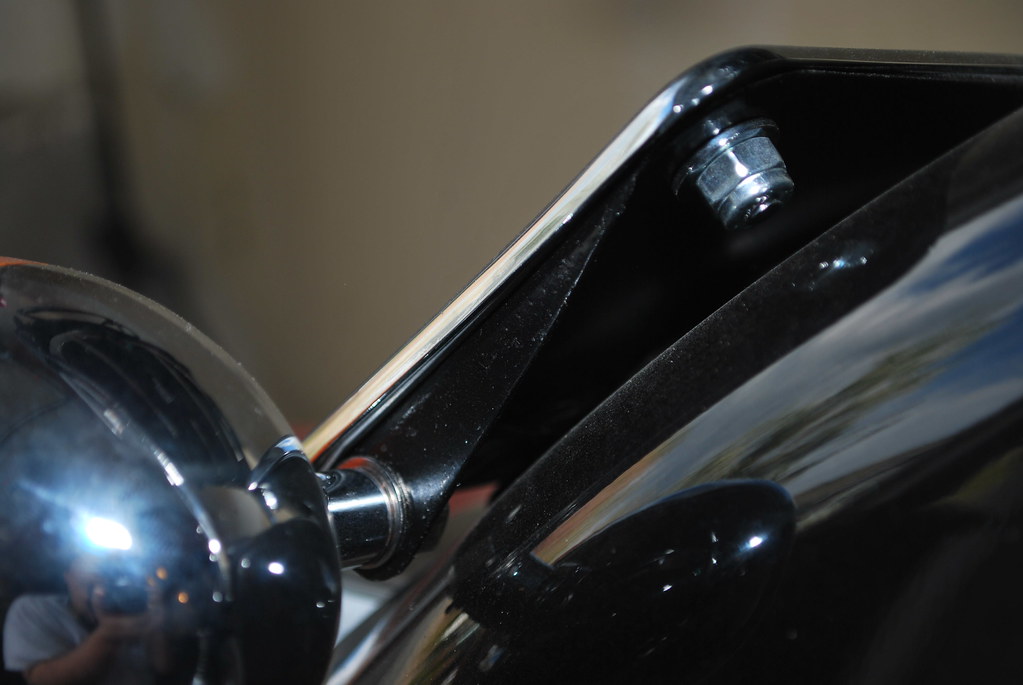
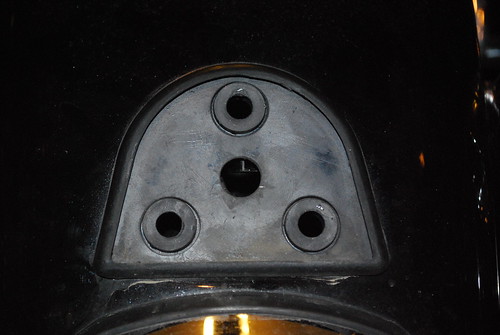
Remove the flanges sleeves from the rubber grommets. Leave the rubber grommets in place.
If the large rubber pad has come off put it back in place.
See pic below.
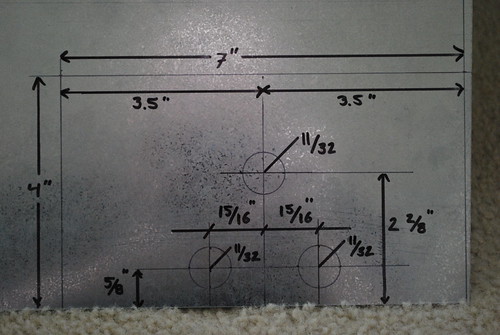
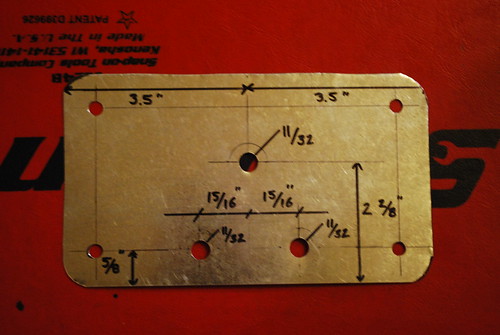
MAKE YOUR LAYDOWN PLATE • Mark your sheet metal for 4” x 7”
• 5/8” From each edge mark a line. The four intersections will be four 1/4” holes for the lic plate bolts (not shown in the pic below, I forgot to do this).
• Find and mark your center line on the plate (3 ½” from the edge).
• On that center line from bottom to top mark 5/8” and 2 ¼” (2 2/8 in the pic….DOH!).
• On the bottom line you marked at 5/8”, from the center line mark 15/16” on each side.
o The above two steps have just given you the positions to drill 3 x 11/32 holes.
Should look like this but with the addition of the 4 holes marked for your lic plate bolts.
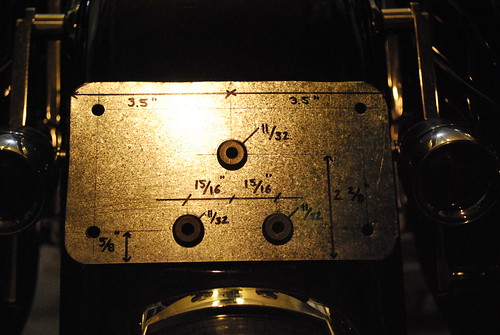
Trim, file, drill, file and it should look like this.
Make sure the rubber grommets are in place as well as the rubber pad, insert your flat screws through the plate, line up with the three grommets, push on and secure with washers and nuts. Don’t over tighten or the metal will bend. Should be snug but not gorilla tight. Should look like this.
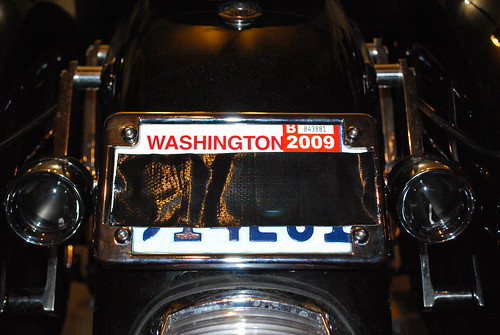
Mount your plate and frame. Should look similar to this.
Now….sit back, heal your wounds (I told you to be careful…..metal is sharp!) and have a Dr Pepper (or whatever)!
Also had this little addition
SO....went to Lowes today and found they have a much better selection of steel plates than Home Depot.
About $10 for a 8x12 sheet...thick enough to keep it stiff and possibly mount the signals to, thin enough to look good.
Had to resort to using my jig saw to cut it all out.