Like Matt, When I went to upgrade my springs to the 'green' springs, I found my idler gear and shaft had jumped and rotated out of position. So I put the bike into 3rd gear (not sure if this helped or not), pulled the spark plugs to release compression. This allowed me to rotate the motor by hand and allowing the idler gear to rotate back into position where it would line up with the hole that the shaft was supposed to slide into. However, once I got the gear lined up, the shaft still didn't want to go in. I then felt it was needed to pull the starter gear as Matt described in his video. Only I didn't have a flywheel tool to keep the clutch basket from spinning while loosening the two bolts holding the starter gear. With some raw material, I proceeded to make my own. Now with the starter gear off, I went to work on trying to get the idler gear shaft back into it's retaining hole. Only it didn't want to go. It was like either the hole was out of round or the shaft was flared to the point where it wouldn't slide back in to his housing. After about 30 minutes of panic and a few choice 4 letter words, I regained my composure and went back to work trying to weigh my options. I decided to give it one last ditch effort. Not wanting to tap the shaft back in out of fear of cracking the case, I just put pressure on the shaft with my hand and wiggled it. While doing this, I noticed the shaft was sliding back in just a fraction with every wiggle. I kept this going until I had wiggled the shaft completely back into it's housing. SUCCESS!!!!!! After letting out a deep breath and doing a little happy dance, I finished up putting the idler gear, starter gear and wavy washer back in place and finished centralizing the clutch spring retaining plate and put the clutch cover back on.
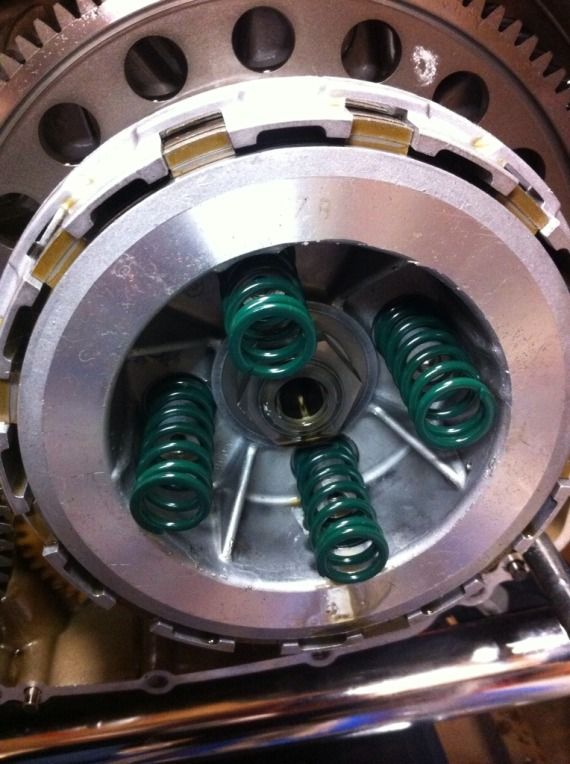
Springs:
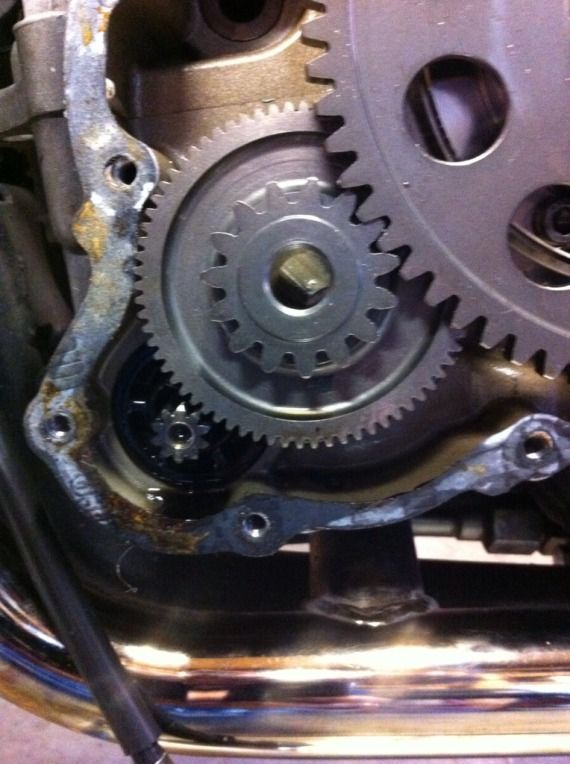
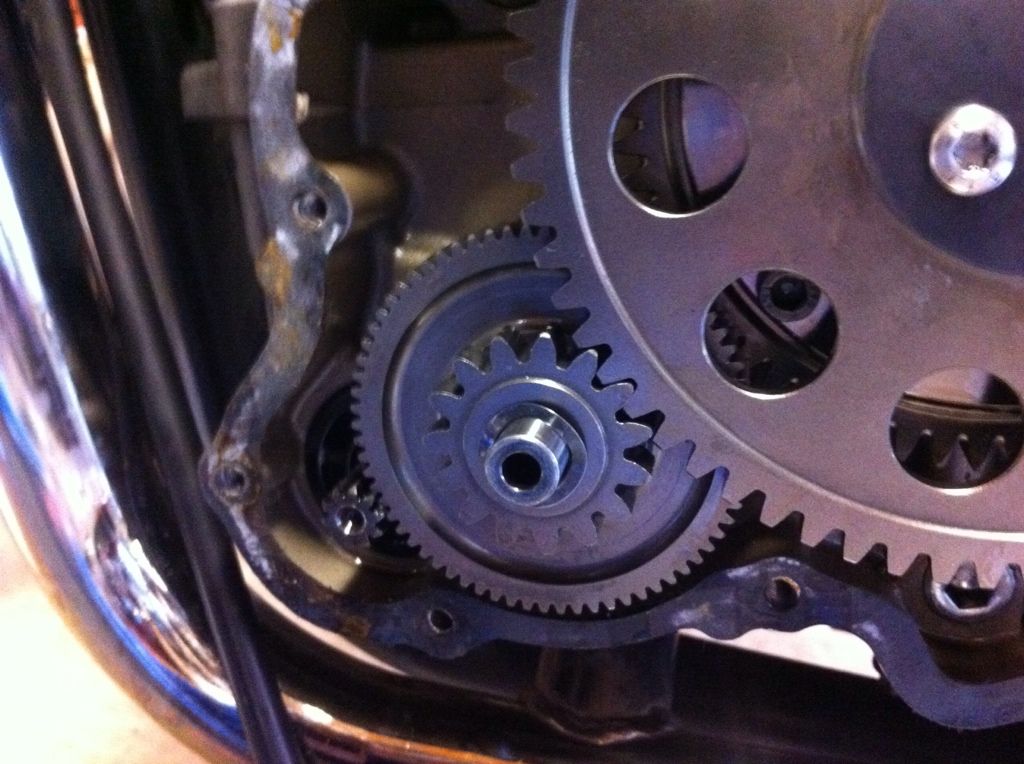
Gears out of alignment:
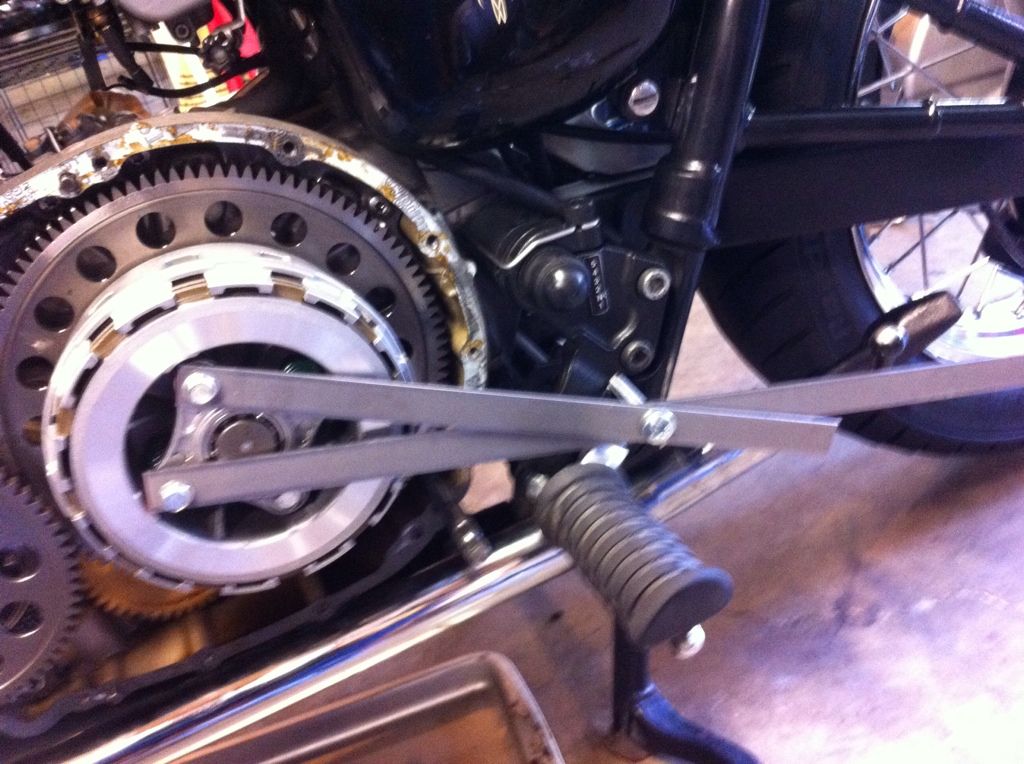
Home made flywheel tool: This was needed to secure the clutch basket and keep it from spinning while loosening the bolts on the starter gear.
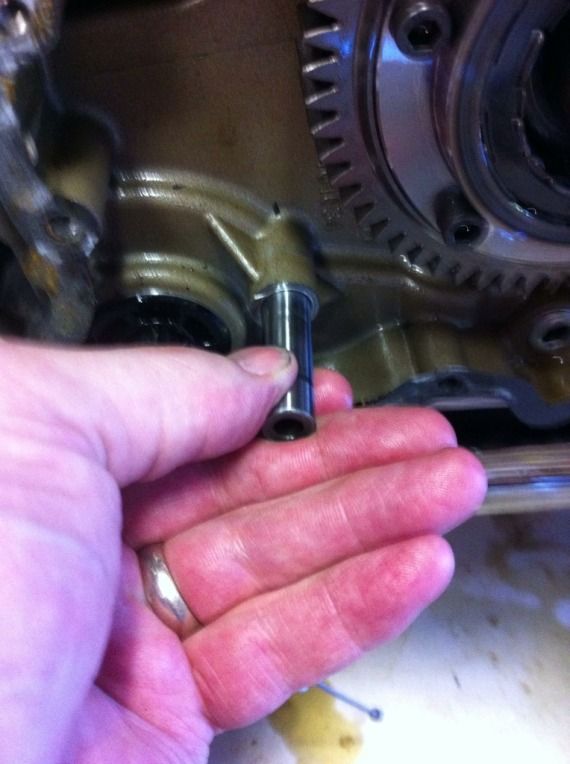
Son of a bitch!!!
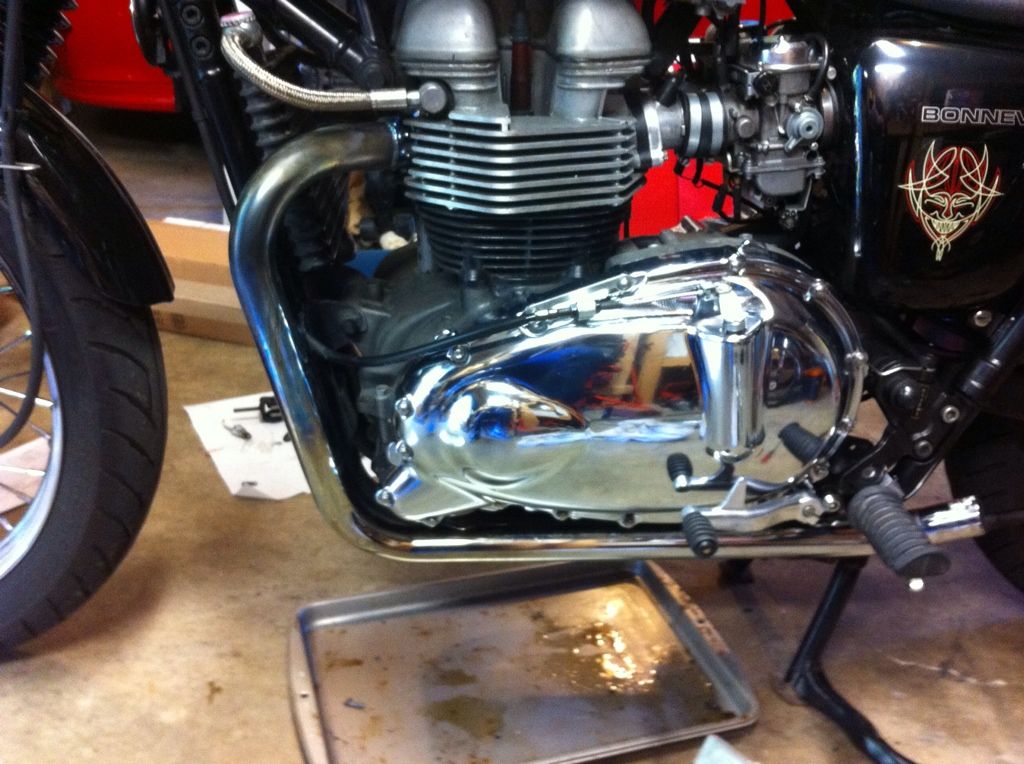
Success

All buttoned up :rocks: